
I finalised the top contour of the map, the 130m contour and how each if the tiles will be built in order to have a few variations as possible for reuse in other battlefields. With this contour finalised I have selected a section if 4 tiles to go ahead and build in full in order to confirm the design and construction used to then complete the map as well as the rest of the table.
Here is the full map on tracing paper:

I then grabbed another sheet and traced just the 130m contour and then worked with the edges so that the tiles are more square and usable in other situations.

I chose the 4 centre squares at the bottom to work as the prototype and I then hit the tools.
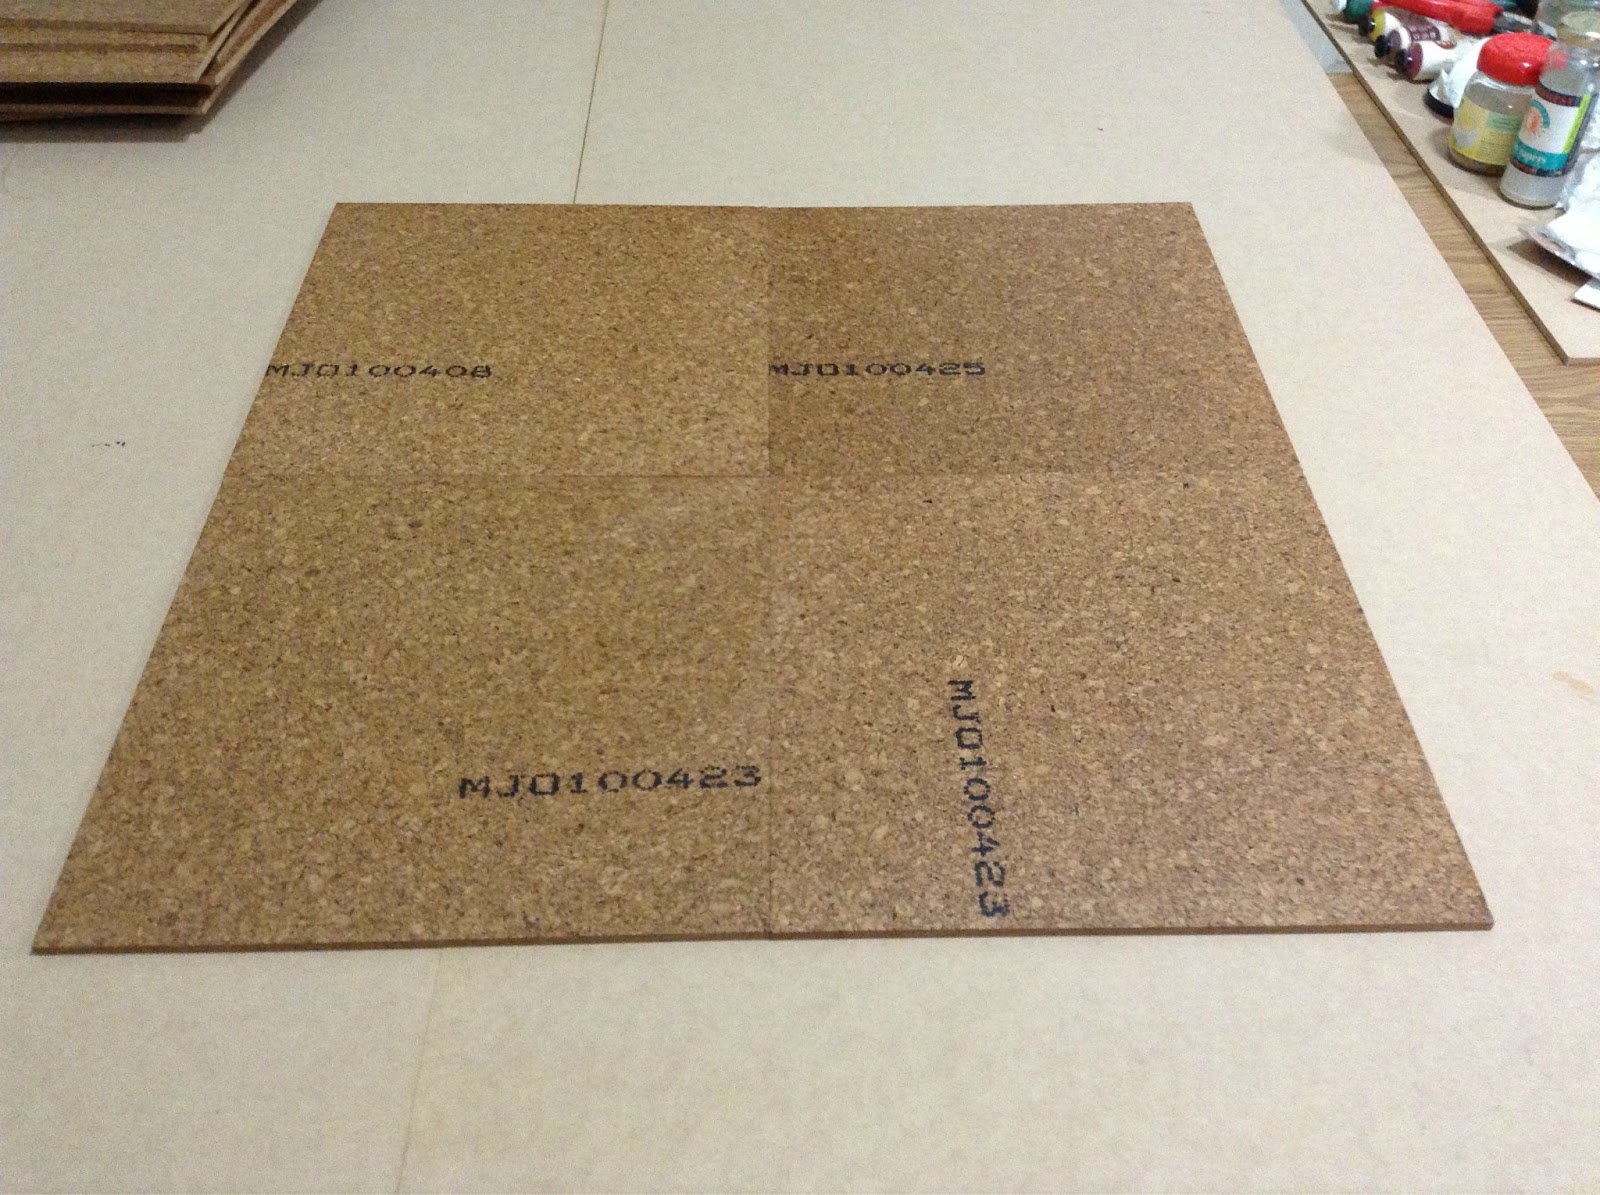
I start with the 4 base tiles which represents the footprint these 4 tiles will take. The top 2 tiles need to be split in half horizontally a 90 degree or cornering contour on opposing corners of both. The bottom left tile is a 90 degree corner but taking the whole tile to begin and complete while the bottom right tile is full. This means the bottom right has nothing to do except to have a section made to sit underneath it to prop it up flush with the surrounding tiles. This will become more clear as the build progresses.
Lets begin with the top left tile. It needs to be cut in half horizontally and the bottom half needs to be built up with a contour running from the bottom left corner up to the top edge and and complete at the top right corner.


Here are all 4 tiles completed. 3 of the 4 were half sections with the bottom right tile being a full complete tile lifed off the table to be flush with the contours:

Here is a close up of the completed contour edge:

Here are some troops deploying down the contour:

Now on to spray painting them.
See Part 3.
No comments:
Post a Comment